Practical guides
How to photograph existing copper window and moulding details
For an initial copper window or moulding enquiry, take a clear view of the whole opening, then closer photographs of the sides, head, sill and corners. Label the images and add any dimensions you know. The aim is to connect each detail to its location, rather than send a collection of isolated close-ups.
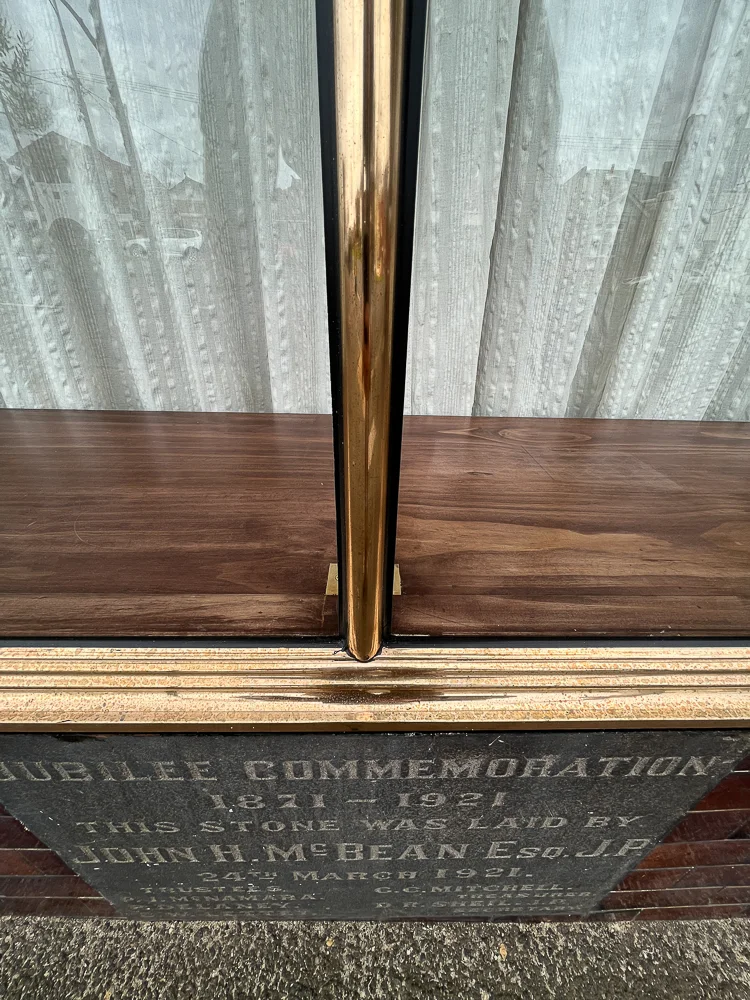
This guide is a practical starting point for discussing a product requirement. Photographs help explain what is visible; measured drawings and project-specific checks may still be needed before a detail can be confirmed.
Start wide, then move closer
Begin with a view of the whole frontage or opening. Include enough of the surrounding construction to show where the copper elements sit. If there is more than one window, photograph the group first and then each opening separately.
Give every opening a simple reference. A marked-up copy of the wide photograph can show W01, W02 and W03, for example. Use the same references for the closer images so someone unfamiliar with the site can follow the sequence.
Take a second view from an angle if it helps show depth, while retaining the straight-on image for overall context.
Record the head, sides and sill
Photograph the top of the opening, both sides and the lower sill. Where the details differ, show the difference rather than assuming one photograph represents the whole assembly.
For a moulding, include a view along its length as well as a close view. If an end or section is already exposed, record it without removing or disturbing material. A surface photograph alone may not reveal the full cross-section.
Make a note if an area could not be seen. “Rear face not visible” is more useful than leaving someone to guess whether it was inspected.
Give corners and junctions their own images
Corners often need more than one angle to explain how the visible parts meet. Photograph the junction with glazing, the surrounding wall and any adjacent moulding where those relationships are relevant to the enquiry.
If your question concerns one particular area, identify it on a copy of the image and describe what you want to discuss. Keep the original photograph too. Avoid describing a condition as a defect or diagnosing its cause from an image alone.
The objective is a clear record of the visible detail, not an assumption about the construction behind it.
Add scale without implying precision
Include a ruler or tape beside a detail where this can be done safely and without disturbing the surface. Keep the markings readable and note the units. Record the measurement separately in the enquiry so it does not depend on someone interpreting a photograph.
Label approximate dimensions as approximate. A tape seen at an angle is useful context, but it is not a substitute for a checked site measurement or a properly dimensioned drawing.
For profile discussions, an accompanying section sketch can explain depth and returns more clearly than a photograph.
Keep colour references straightforward
Use clear, even light where possible and avoid filters. Send original image files where practical, since compressed screenshots can make fine details harder to see.
If finish or colour is the subject of your enquiry, explain that explicitly. A photo records one surface in one set of lighting conditions. It should be considered alongside the finish discussion, as outlined in our copper patina guide.
Put the images into a readable sequence
A simple file list might look like this:
- W01-overall: the complete opening and surrounding wall.
- W01-head: the upper frame and adjoining construction.
- W01-left and W01-right: the two sides.
- W01-sill: the lower frame and sill detail.
- W01-corner: the particular junction you want to discuss.
These are example labels, not a required file format. Add the project location, date photographed and a short note explaining the intended work.
When a project needs a formal heritage record
If your project calls for formal heritage documentation, obtain the required recording brief from the responsible project adviser or authority. Heritage Victoria publishes a separate specification for archival photographic records; an initial product-enquiry photo set is not that formal record. Heritage Victoria: recording resources
Send the detail with your enquiry
You can prepare an enquiry email and attach the photographs in your email app before sending. Include any available drawings and whether you are discussing copper windows or mouldings. CW&M can then discuss the supplied information and the questions that remain.
Discuss the next detail